


Photographers should aim for extreme lighting in product photography
Author: Alan LI
Date Created: 2023-09-21 16:31
CNPP Photography Studio has compiled some examples of lighting in product photography, every product photo you see is the result of our photographer's careful lighting, sometimes to show the perfect angle light and texture of the product, our photographer will repeatedly adjust the position and intensity of the photographic light, no matter whether it is the Amazon e-commerce platform product photography or product photography in product cataloguesCNPP Photography The studio strives to take the most perfect product photos for your products.
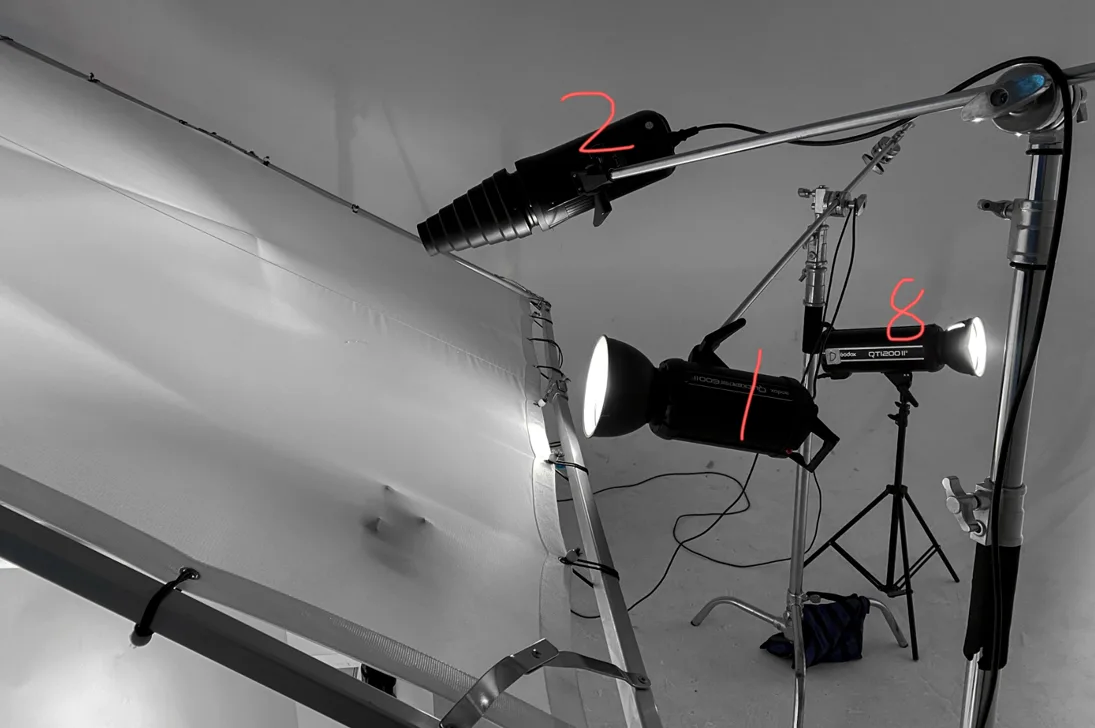
For your viewing and understanding, we follow the order of the final original photo - the scene lighting diagram - the lighting process, you can see the light and shadow effect and structure of the photographed products intuitively according to the lighting diagram. In addition to the placement of the light of the lighting diagram, CNPP product photography studio photographers in the shooting also need to think about the material of the product, what kind of light can show the material, what angle can reflect the structure, what distance can be controlled excess and level, universal light strictly does not exist.
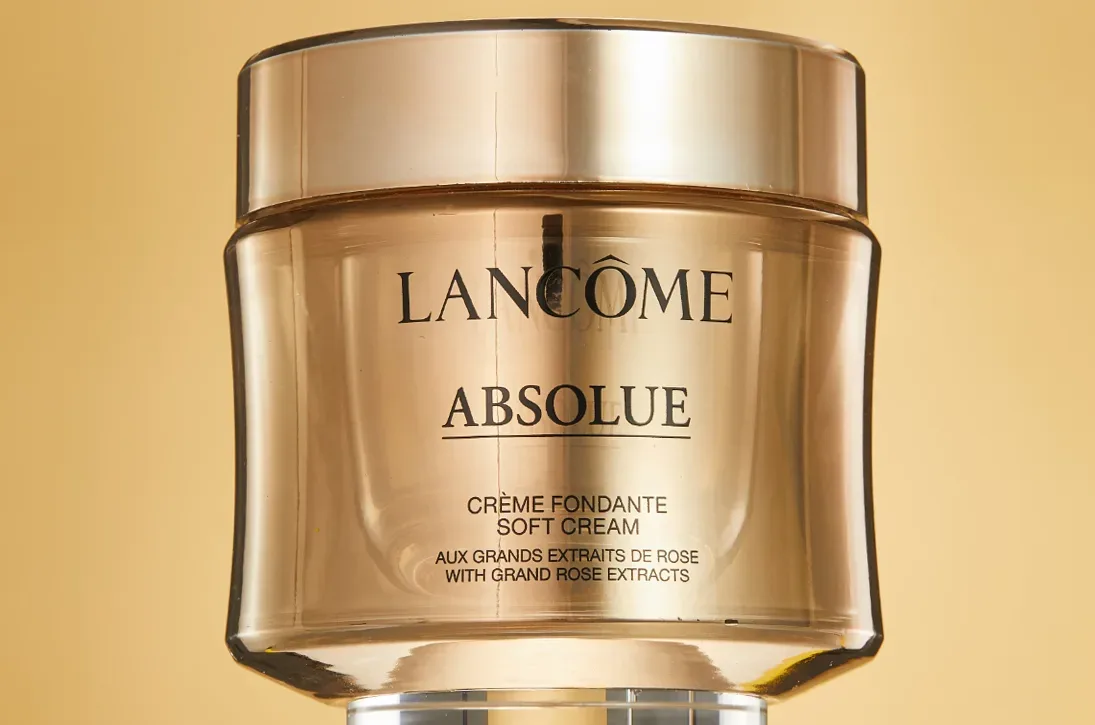
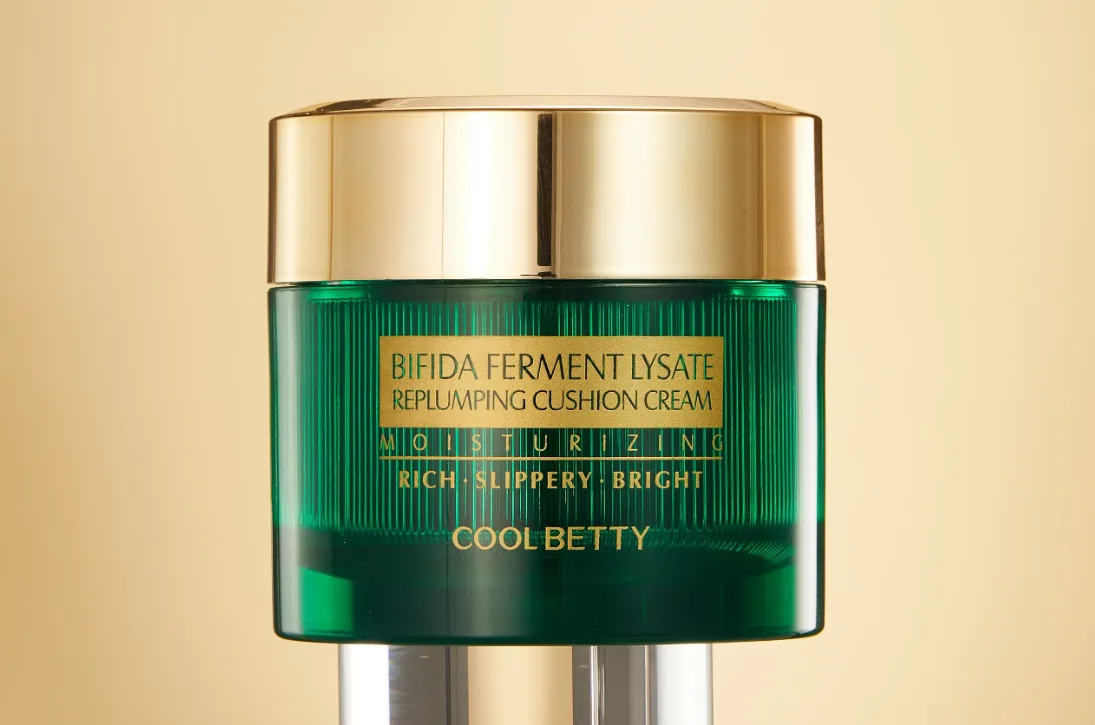
INMANVISION LANCÔME COSMETICS SHOOTING (specular transmission): No. 1 backlight - No. 2 left side of the contour (pay attention to leave a black edge) - No. 3 right side of the contour - No. 4 top light to light up the top edge of the lid and the bottom - No. 5 right side of the face of the light the second cosmetic for the same Lighting shots.
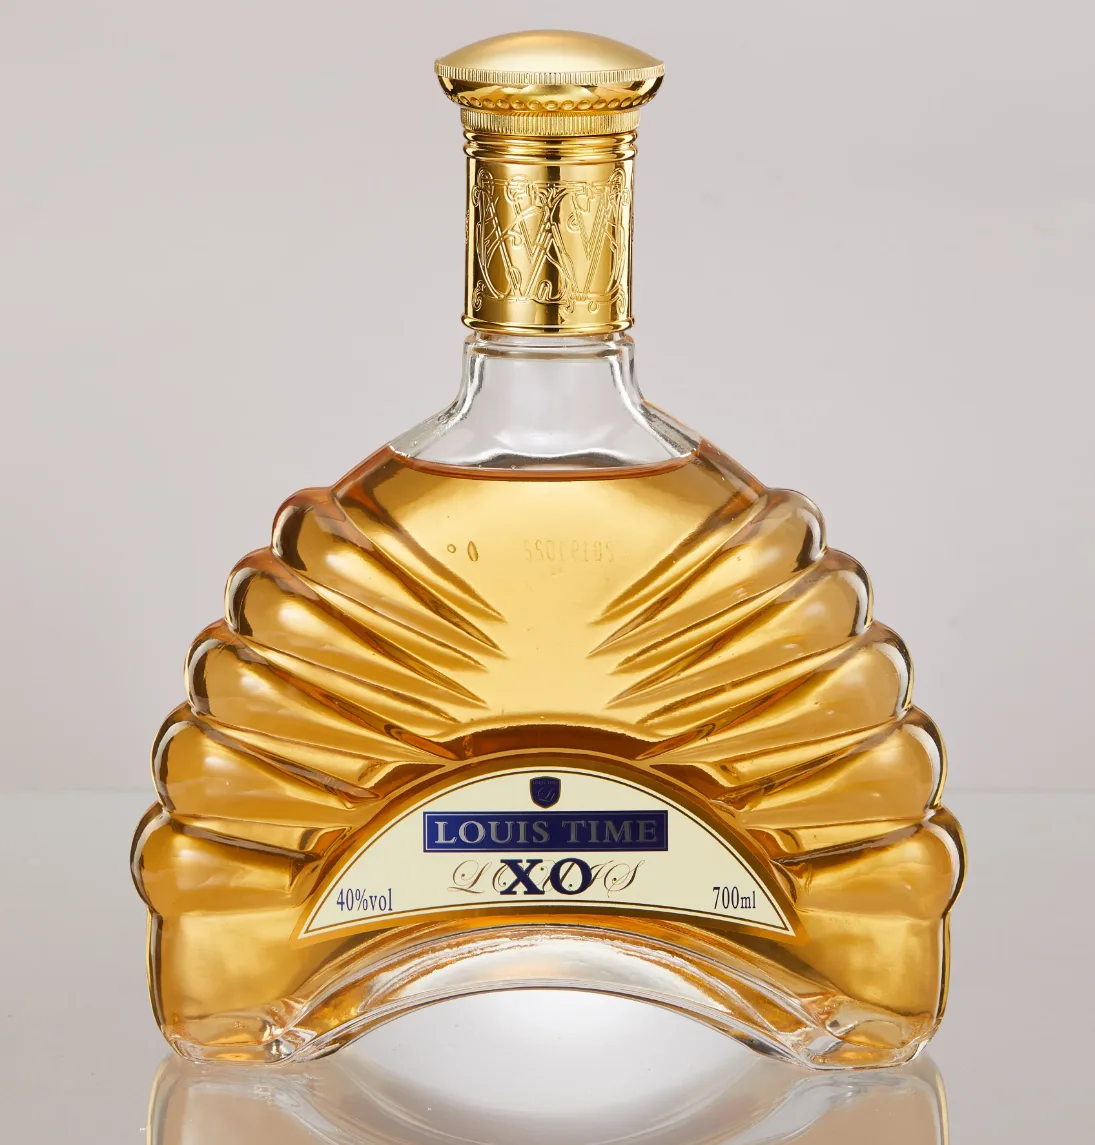
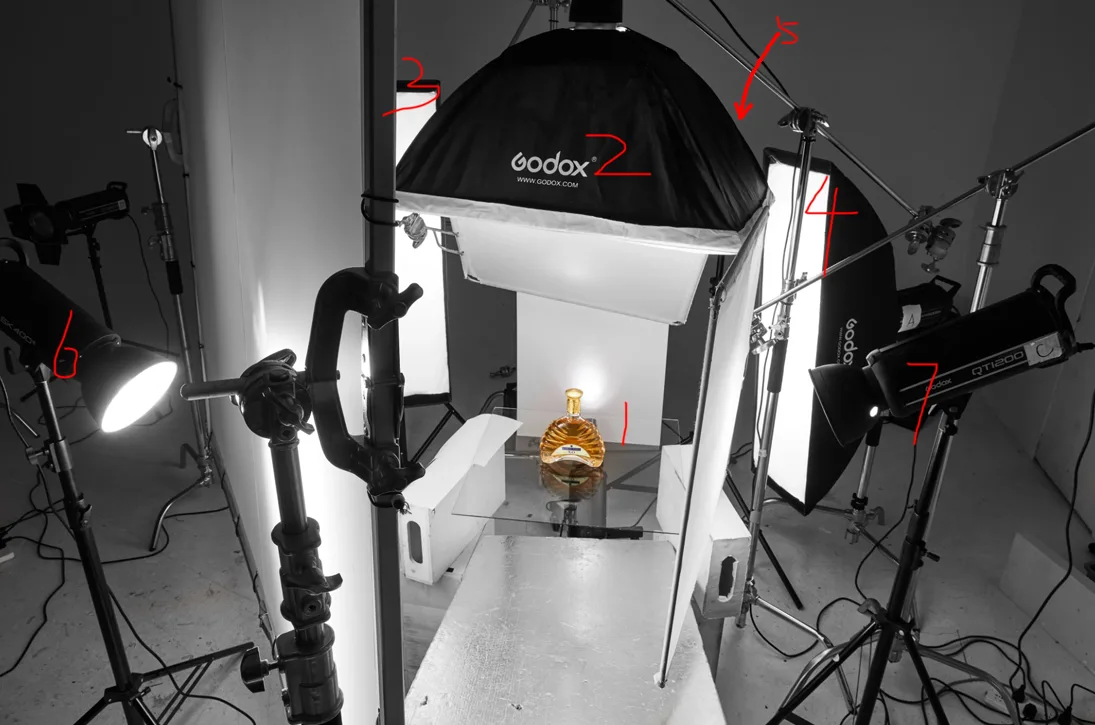
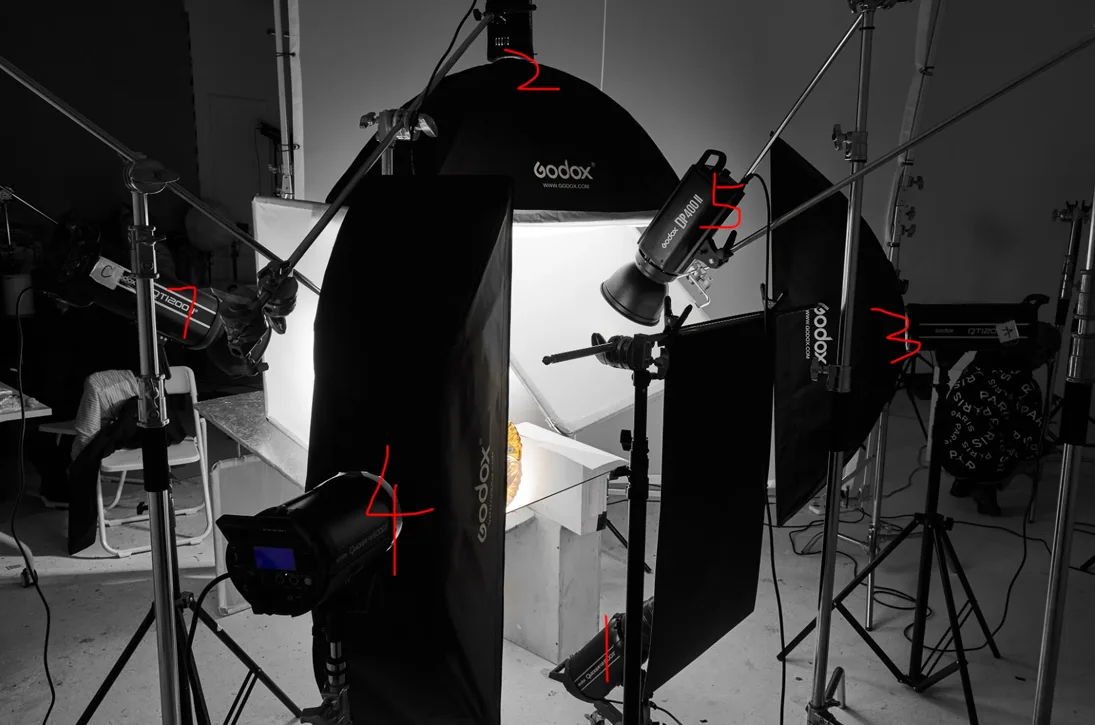
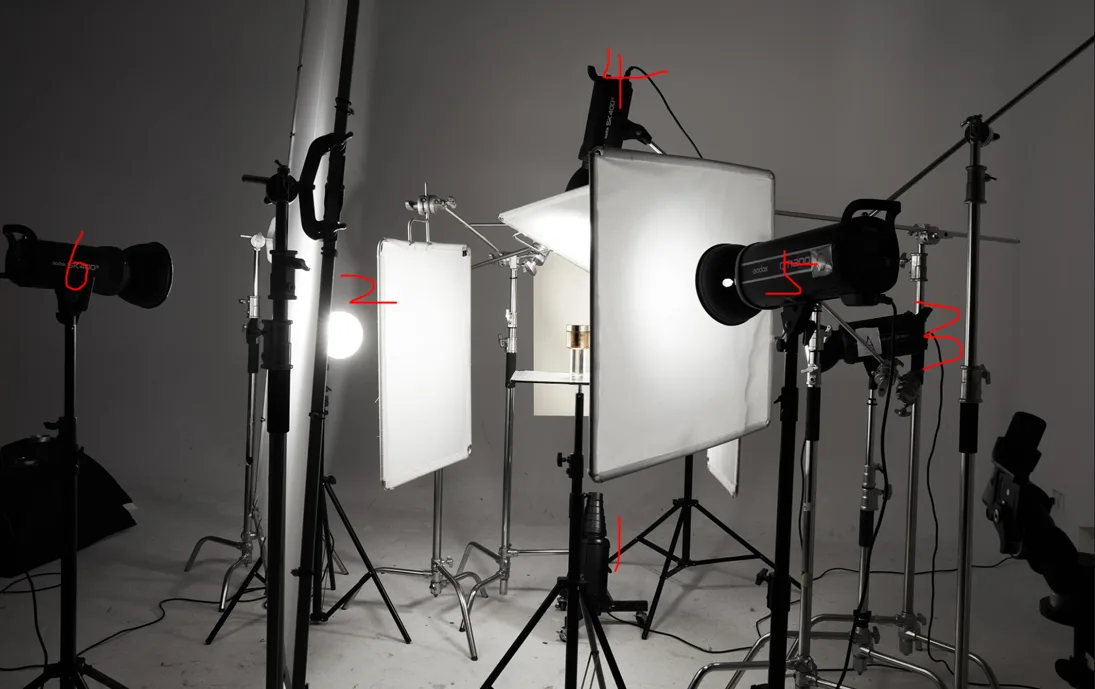
WINE SHOOTING (glass and metal): No. 1 backlight - No. 2 top light - No. 3 left profile - No. 4 right profile - No. 5 lid top outlined highlights - No. 6 left main light to highlight the logo -No.7 right side auxiliary light to reduce the contrast of the water bottle (grey background): No.1 backlight - No.2 top light - No.3 left side outline (need to outline the white edge on the grey background) - No.4 right side outline - No.5 main light -No. 6 highlight shadow.
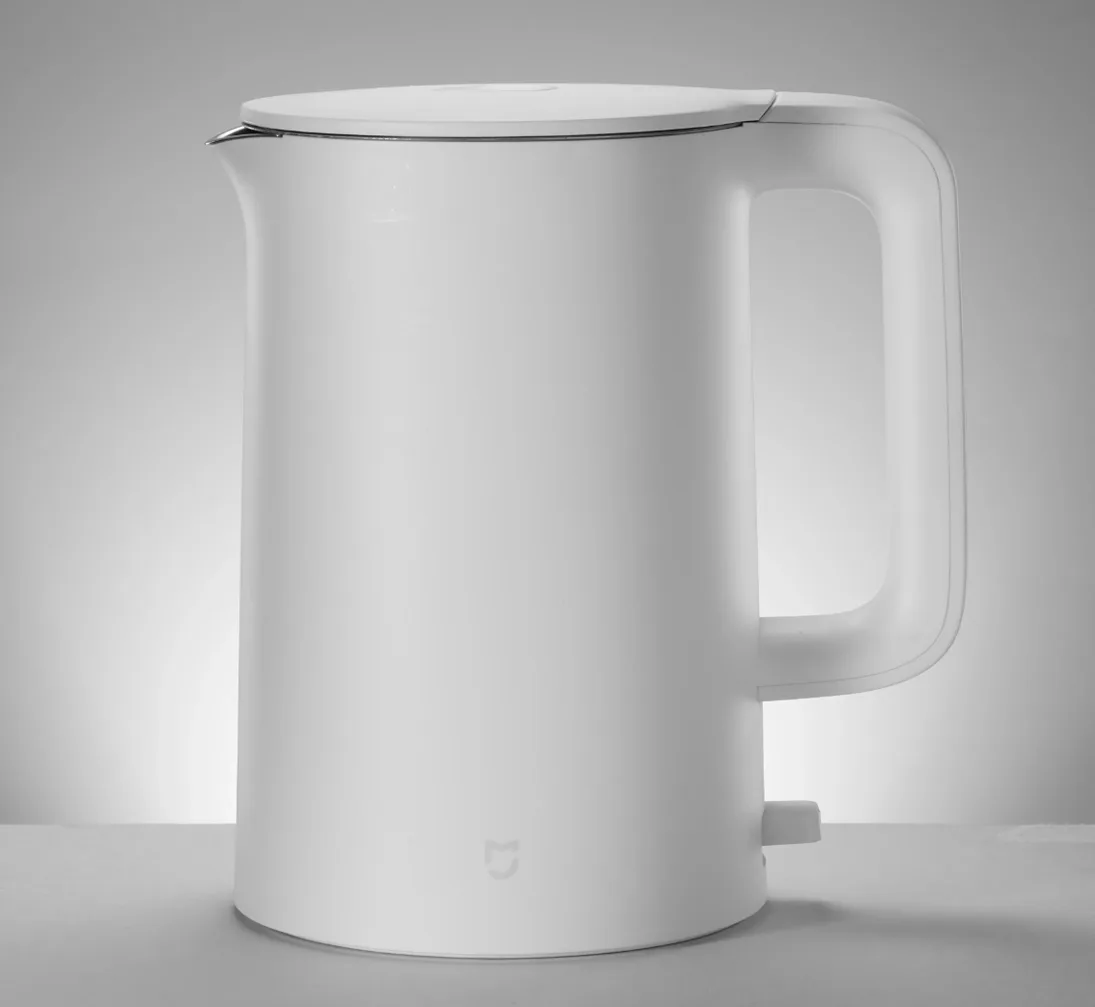
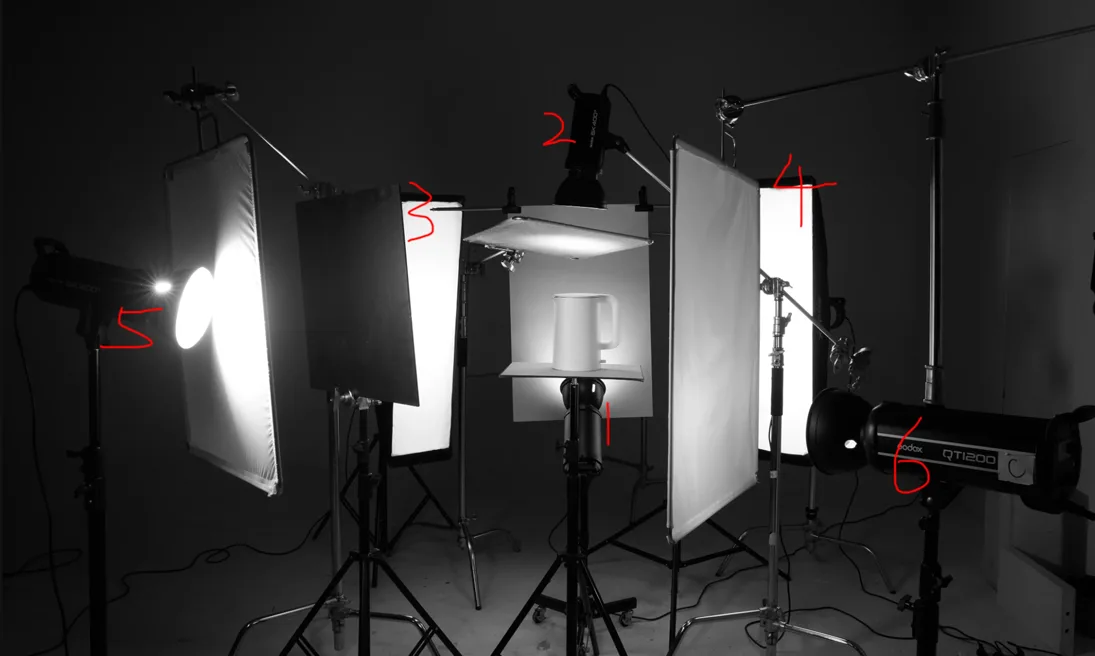
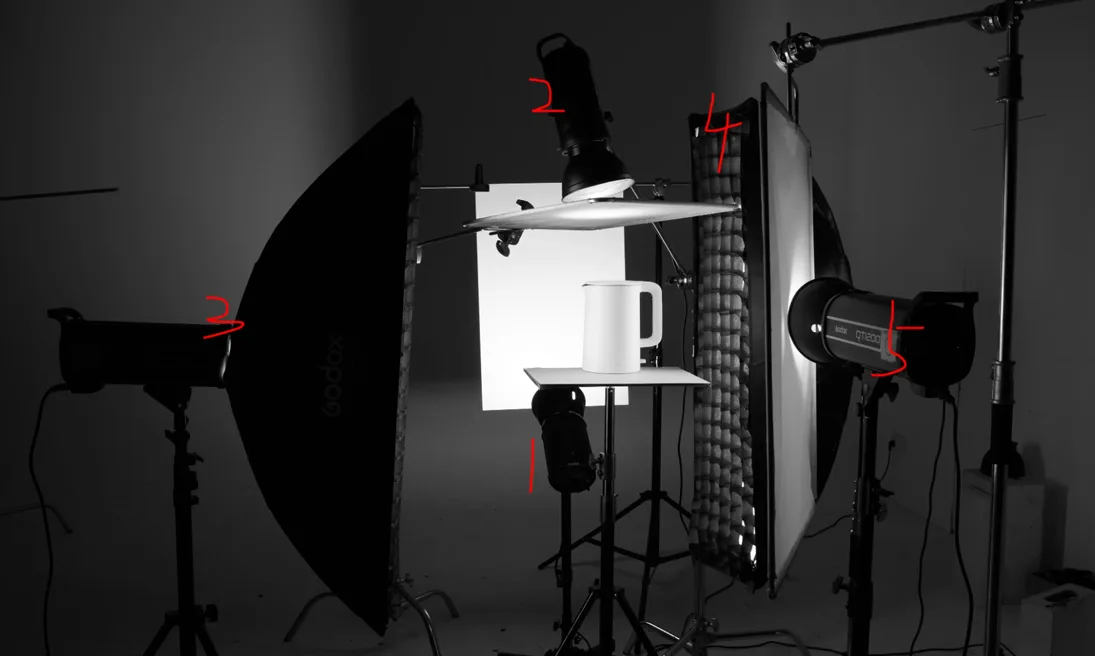
BOILING KETTLE SHOOTING (white background): relative to the grey background, the white background needs the outline of the product to be black, to create a contrast with the background No. 1 backlight - No. 2 top light - No. 3 left side of the main light - No. 4 the right side of the contour (need to outline the black edges on the white background) - No. 5 brighten the shadows.
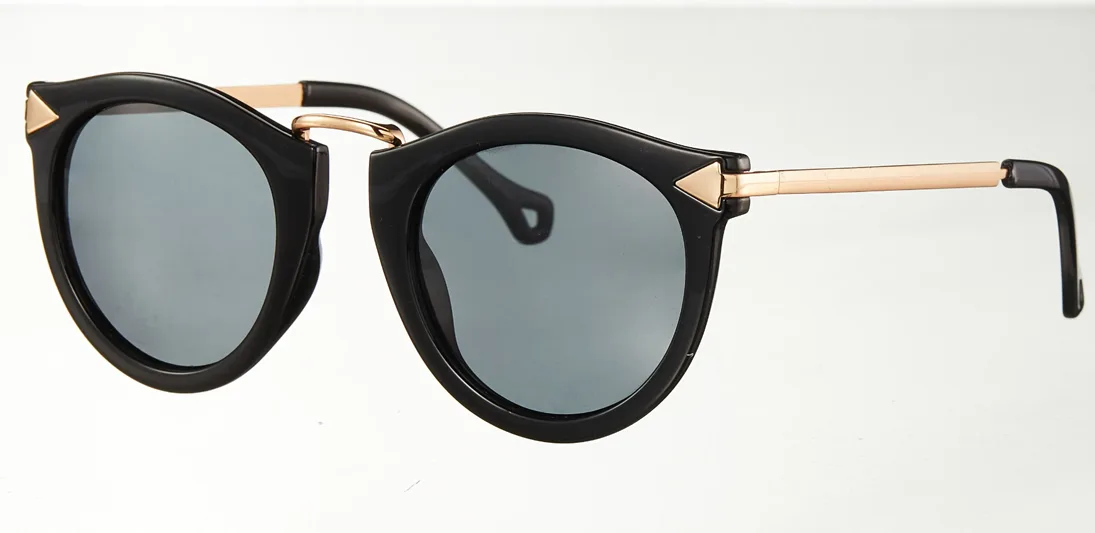
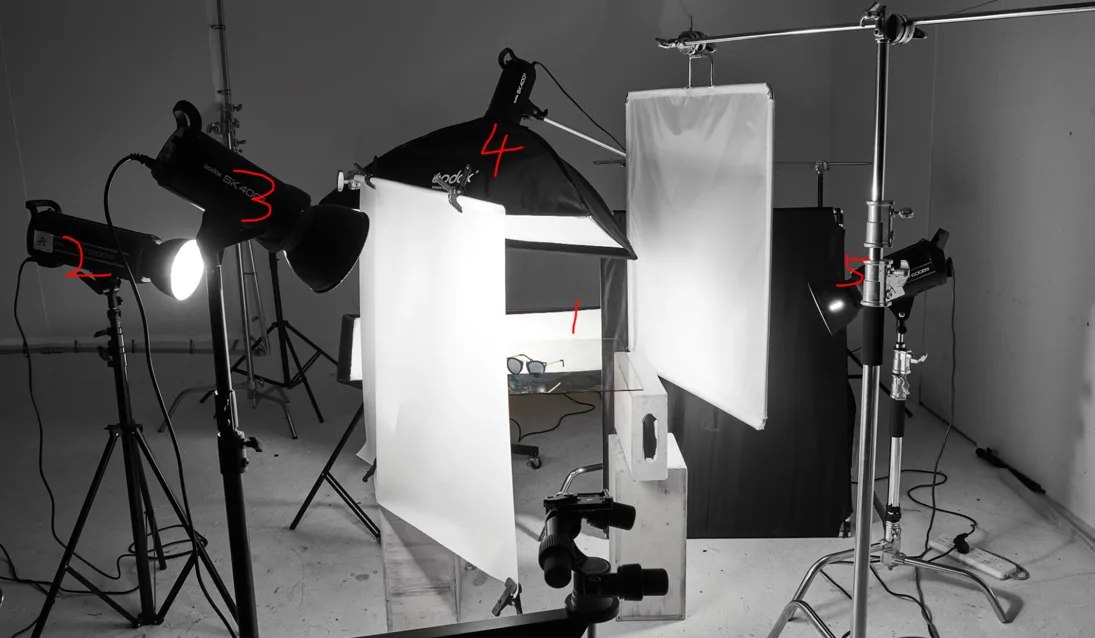
GLASSES SHOT (plastic plus metal plus glass): No. 1 backlight - No. 2 left main light A to light up the whole left side of the glasses and the metal triangle - No. 3 left main light B and the metal triangle - No. 4 top light to light up the plastic on the top of the frame to reflect the structure of the top - No. 5 side Reverse direction to light up the metal temples - Zoned focus depth of field composite.
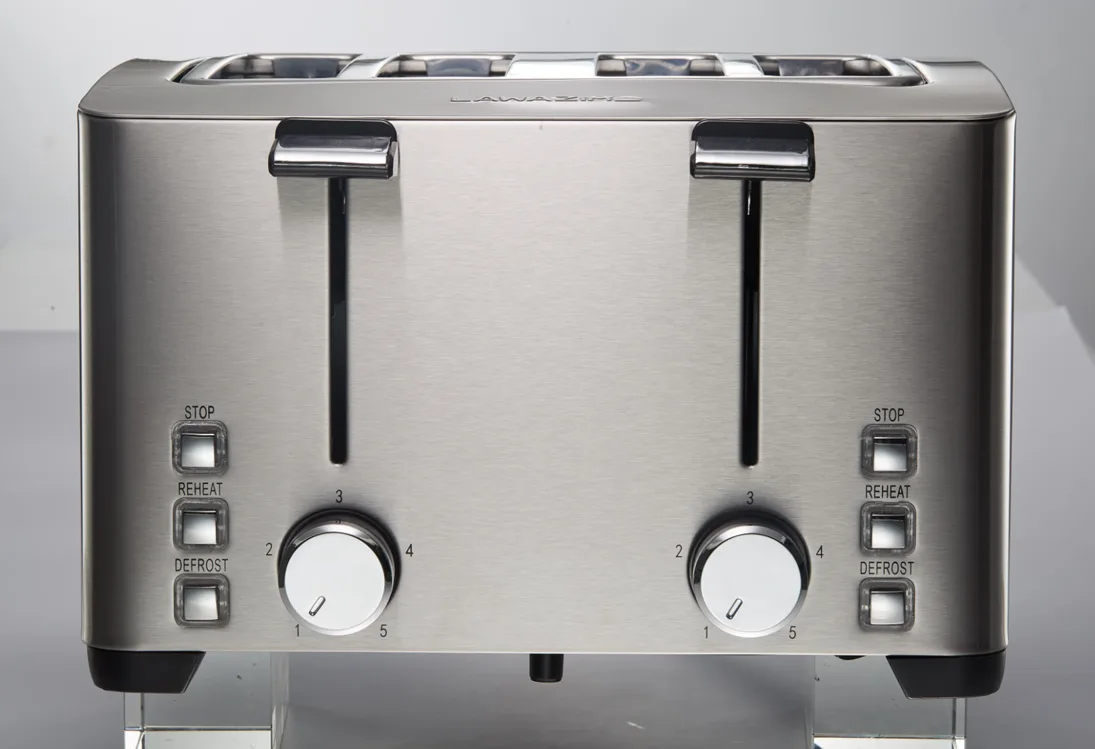

THE SHOT OF THE TOASTER (stainless steel metal): No.1 top light A to light up the top of the toaster - No.2 top light B to partially light up the logo on the top - No.3 left profile structure - No.4 right profile - No.5 main light to light up the front of the product -No.6 auxiliary light to reduce the contrast - No.7 bottom light to light up the structure line at the bottom of the product, with a highlight to reflect the structure - No.8 background light - depth of field composite.


